FORD SUPER DUTY 7.3L POWERSTROKE DIESEL
Mods, Maintenance, Repair, and Information Home Page
Ford Super Duty Fuel Filter Replacement Procedure
Ford recommends the diesel fuel filter for a 1999-2004 Ford F250 or F350 Super Duty Power Stroke 7.3 Liter diesel engine be replaced every 15,000 miles.
I replaced my fuel filter and wrote up how I did it here. I used a filter that did not have a cap. If you purchase a filter with a cap, make sure to save the old cap in case you need it in the future. Personally I have no preference for a capped or capless filter. I just purchase whatever is the best deal.
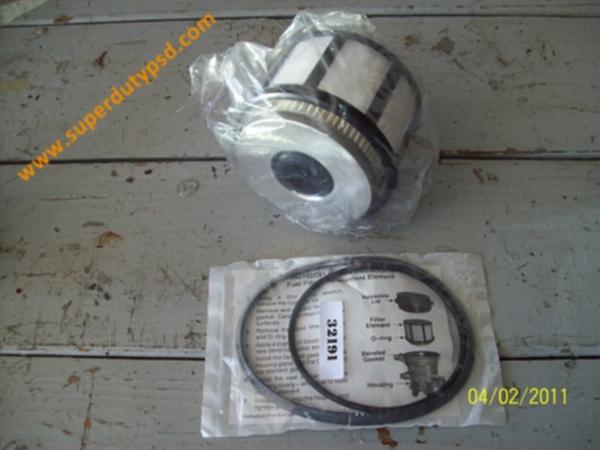
Below is the filter I used.
| Required Parts: | |
| Fuel Filter | Motorcraft FD-4596 (no cap), Mann-Filter MF1012 (with cap) |
| Tools Required: | |
| 13mm Socket and Ratchet | |
| Strap Wrench or Large Channellock Pliers | |
THE WRITE-UP:
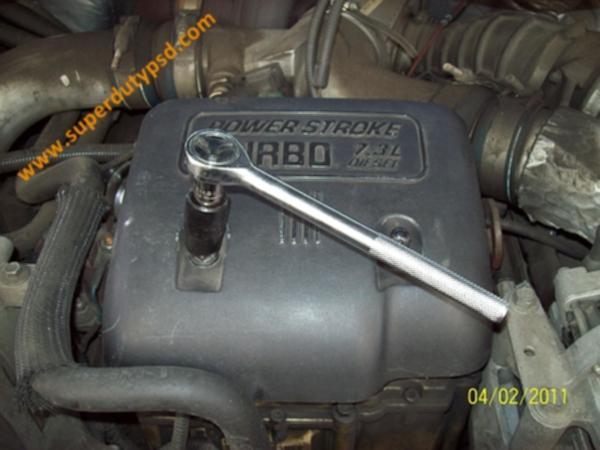
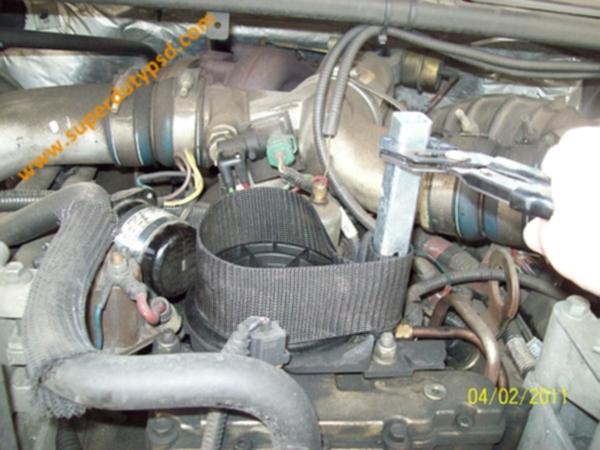
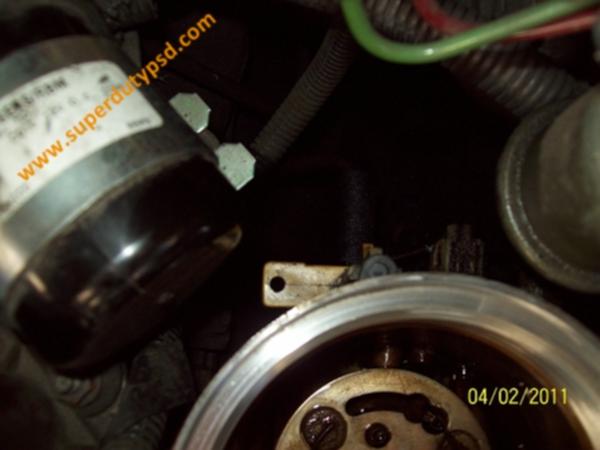
1) The fuel filter housing is located underneath the cover shown below. Two 13mm nuts must be removed to remove the cover and get at the fuel filter.
The picture below shows the fuel filter housing and cap.

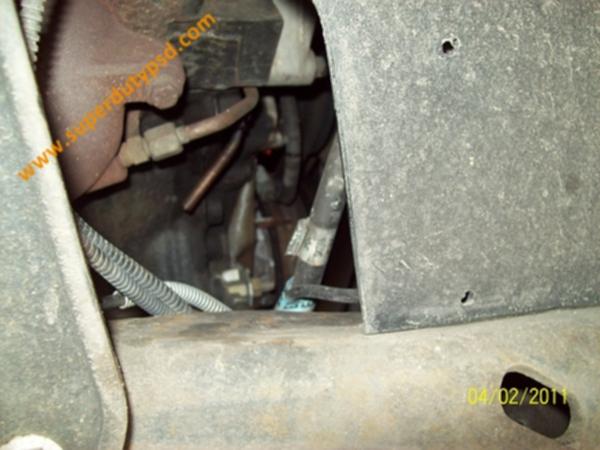
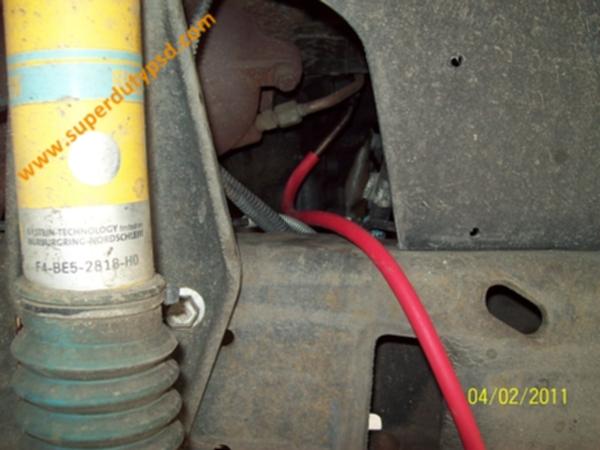
3) It is not mandatory to drain the fuel bowl in order to replace the filter, but a good idea none the less. The filter housing is also a water separator and this is a good chance to remove any accumulated water. The photo below shows where the fuel filter housing drain terminates. It is located at the front of the engine and can be accessed from the front passenger side wheel well. Just connect a three or four foot piece of hose to the tube and then the fuel filter housing can be drained of diesel fuel.
Connect the hose to the drain tube as shown in the photo below.
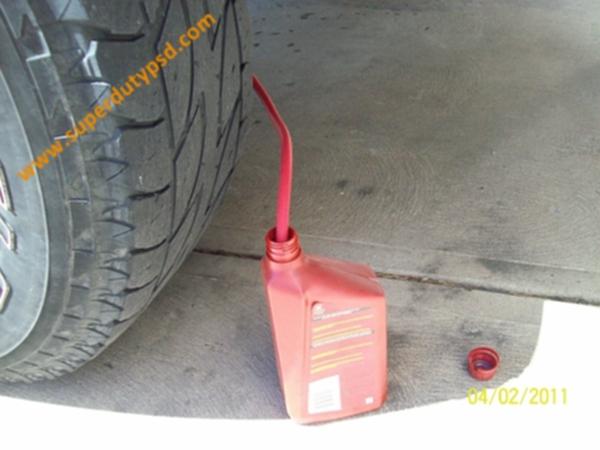
Drain the fuel into a suitable container as shown below. Only about 16 ounces of diesel will come out.
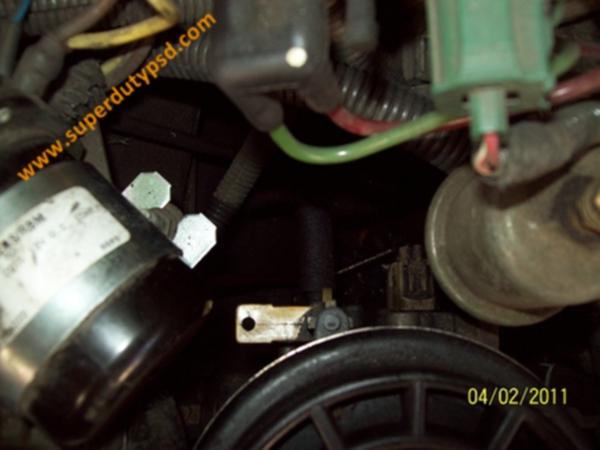
The fuel filter housing drain is located on the back side of the housing. It has a yellow lever which is used to draining the diesel fuel and any water in the housing. In the picture below it is shown in the closed position.
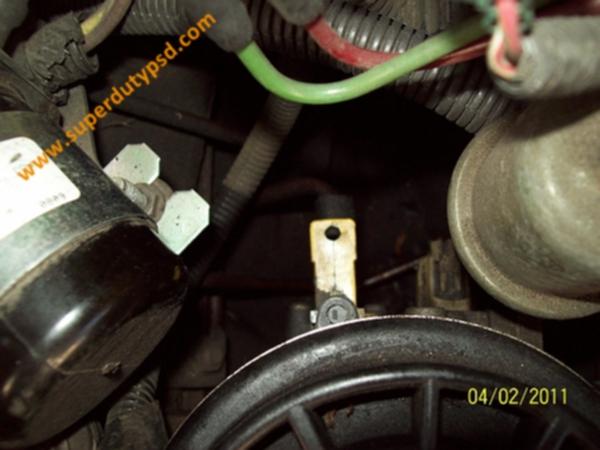
Turn the lever clockwise 1/4 of a turn to drain the fuel. It takes a couple of minutes.
4) While the fuel is draining you can remove the cap. Use a strap wrench as shown in the photo below to loosen the cap.
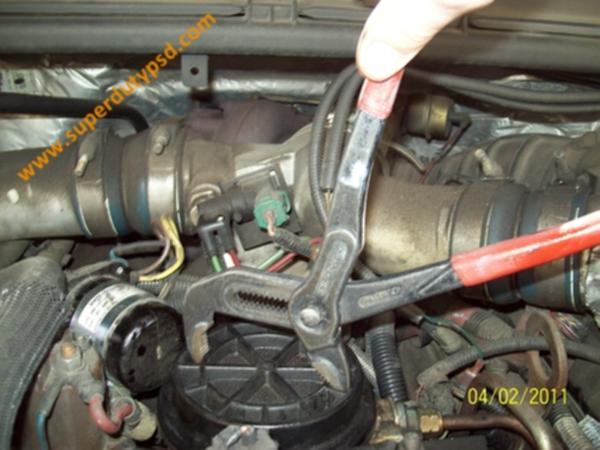
You can also use a large pair of Channellock pliers to remove the cap as shown below. Just put the jaws of the pliers in the notches and turn out the cap. I actually find that this works better than the strap wrench.
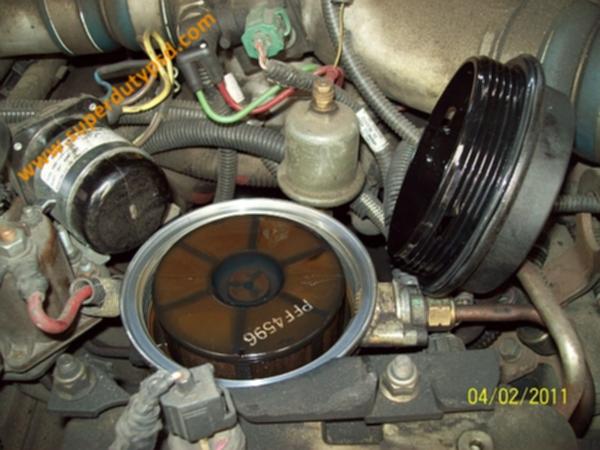
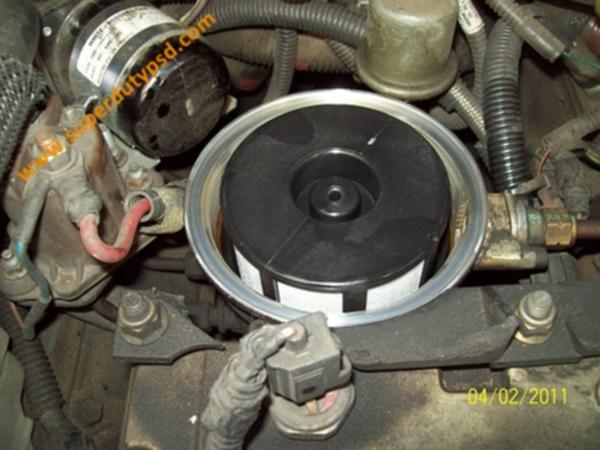
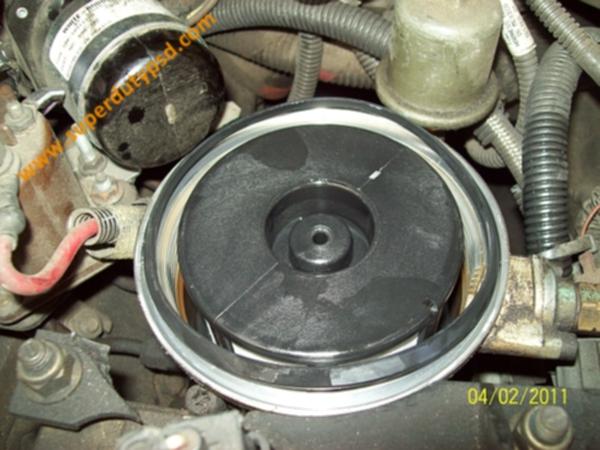
The photo below shows the fuel filter cap removed with the old filter in place. Note how dirty it is.
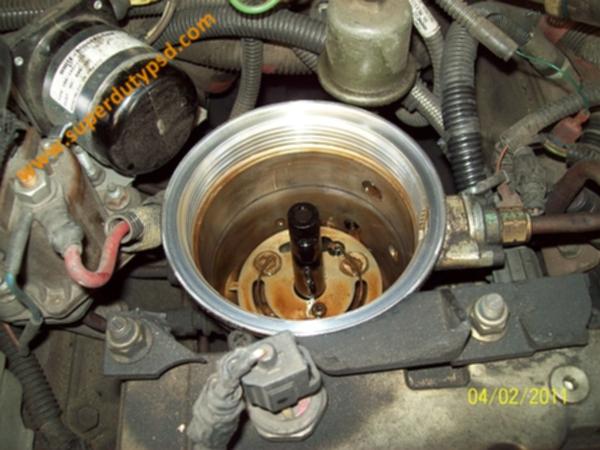
This photo shows the empty fuel filter housing after the filter was removed.
5) Close the fuel filter drain by putting the yellow drain lever back to its original position as shown below.
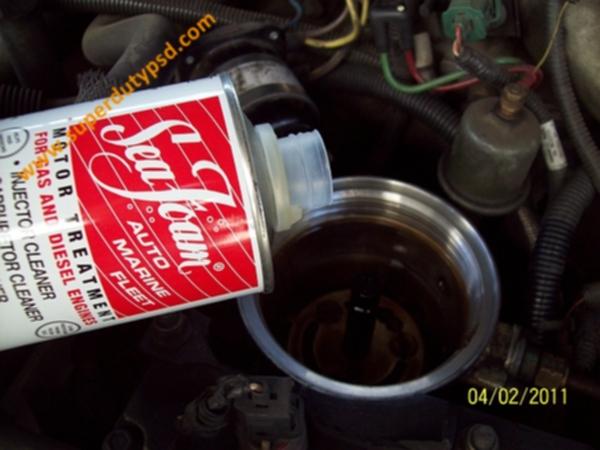
6) This is an optional step that I like to do. I put three or four ounces of Sea Foam in the fuel bowl before I put in the new filter. Sea Foam cleans the injectors. It is good stuff.
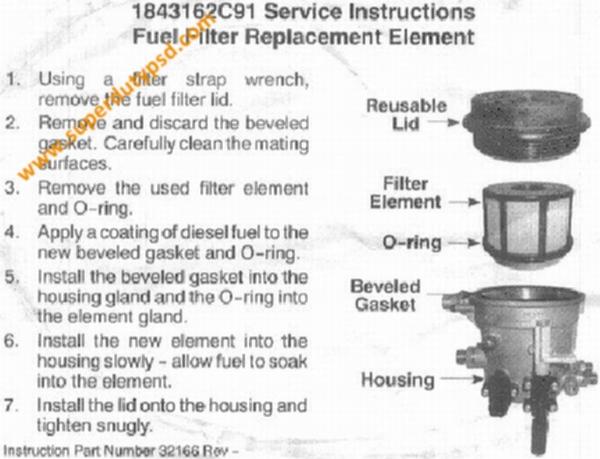
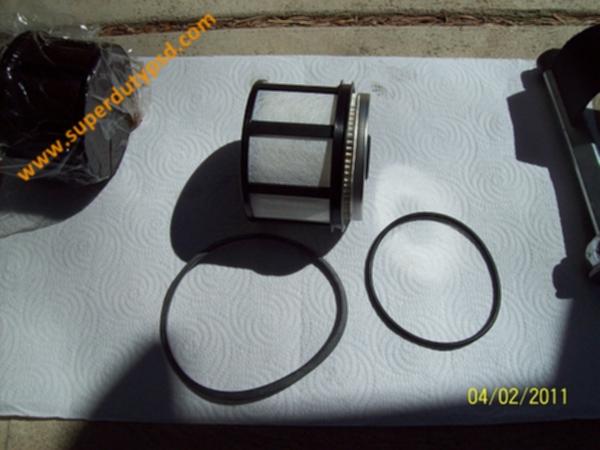
The new fuel filter comes with two seals. A beveled gasket and an O-ring as shown below.
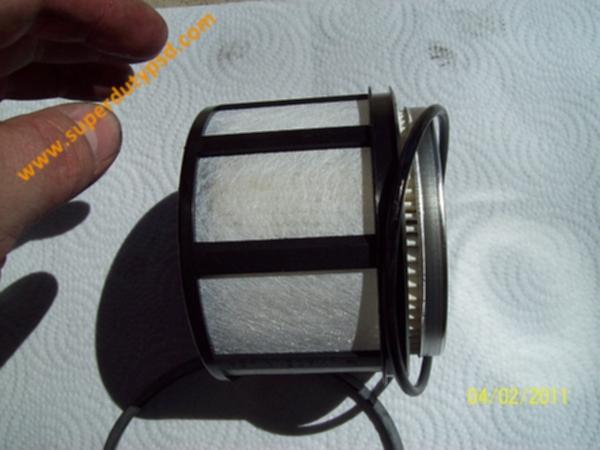
7) Coat the O-ring with diesel fuel and place it in the groove of the fuel filter as shown below. It installs on the plastic part of the filter. Obviously it is not fully installed on the filter below. I show it this way so it will show up in the photo.
8) Gently insert the new filter with O-ring installed into the fuel filter housing as shown below.
9) Coat the beveled gasket with diesel fuel and set it on the fuel filter housing as shown below. Note that the bevel goes UP. The flat side sits on the housing.
10) Using a strap wrench, put the cap back on and tighten snugly.
11) If you have not done so already, remove the tubing which was used to drain the fuel.
12) Cycle the key on without starting the truck. This will energize the fuel pump and allow you to check for leaks. Once satisfied that there are no leaks, start the engine and let it run for a couple more minutes while continuing to check for leaks.
That's it, good for another 15,000 miles.
Below are the instructions that came with the filter.