FORD SUPER DUTY 7.3L POWERSTROKE DIESEL
Mods, Maintenance, Repair, and Information Home Page
Ford Super Duty Water Pump Replacement Procedure
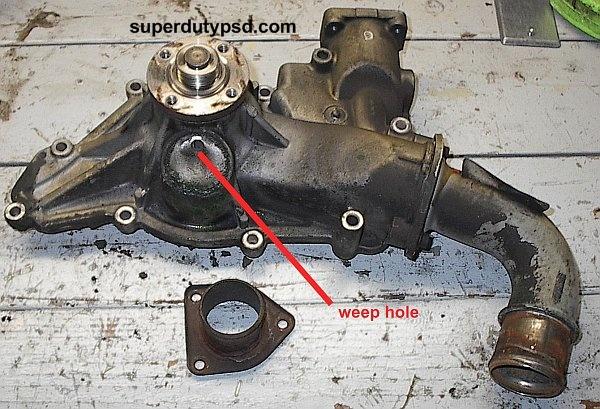
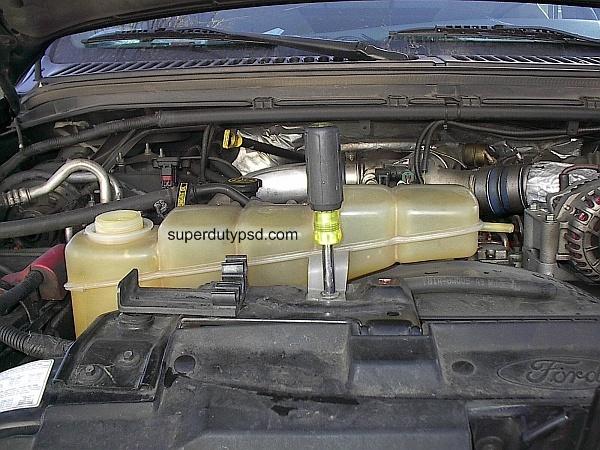
This is a hard project to do a write-up on. It does not lend itself to photos. This first photo shows the weep hole where the fluid was leaking from on my truck. In my case it was just barely leaking. In fact, the leak never even made it to the ground. I had been wanting to convert to ELC coolant anyway and observed some discharge through the weep hole.
I installed an Airtex model AW4114. (15,000 miles so far with no problems on the Airtex). AW4114
You can find the Motorcraft pump here: PW455.
Below is the weep hole where the leak comes from. It is located right below the fan clutch.
| Required Parts: | |
| Water Pump | Ford F81Z-8501-FA, Airtex AW4114, Motorcraft PW455 |
| Thermostat Gasket | FORD F4TZ-8255-A |
| Parts That May Be Needed: | |
| Thermostat Housing (the old one is likely rusted) | FORD F81Z8592AA, NAPA 605-1769 |
| Thermostat (good time to replace it) | Ford F6TZ8575AA, Napa 373-195 |
| RTV Sealant | |
| Tools Required: | |
| Torque Wrench | Catch Can |
| Open End Wrench 1 7/8" | Funnel |
| Ratchet and Extensions | |
| Sockets 8mm, 10mm, 21mm, 8mm | |
| Vice Grips | |
THE WRITE-UP:
DO NOT OPEN THE SYSTEM HOT! IT MAY BE UNDER PRESSURE
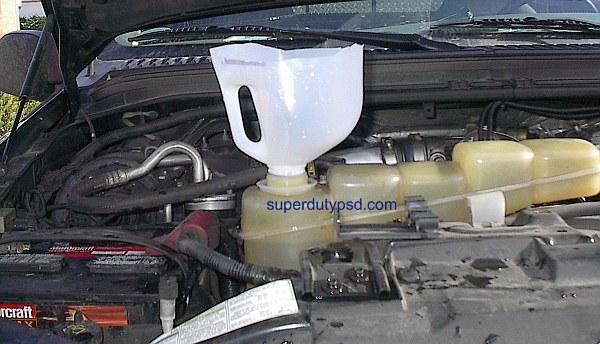
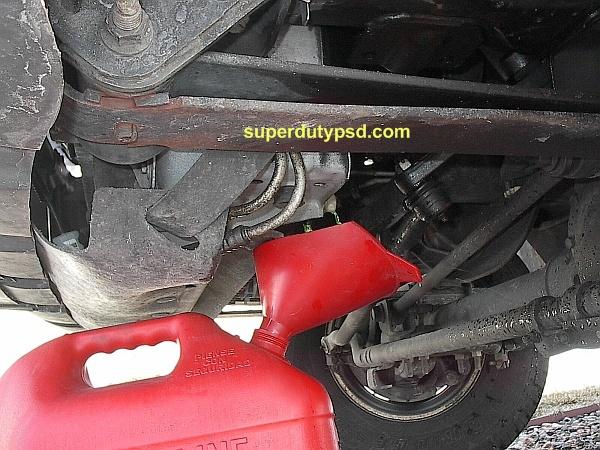
1) Drain the cooling system. Put a suitable container below the petcock on the lower driver's side of the radiator. Approximately 4 gallons will come out so be prepared. I used a 5 gallon gas can and a funnel.
- OPTIONAL: I flushed the coolant system at this point using Gooch's procedure . I stopped the procedure at the last distilled fill. This way when I pulled the pump the only thing that drained out was distilled water. Just time the water pump replacement so that it follows the final distilled water drain and precedes the concentrate fill.
2) Remove lug wrench/jack tools.
3) Squeeze the clamp and disconnect the overflow hose from the degas bottle (right side 3/8" hose).
4) Remove the three bolts (5/16" or 8mm, 71-88 lb/in) and position the degas bottle out of the way. A 5/16" nut driver works great.
5) Squeeze the clamp for the upper radiator hose and position the hose out of the way.

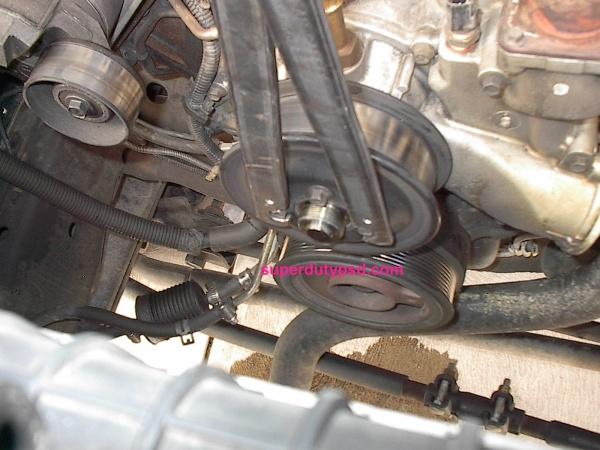
6) Remove the serpentine belt. Use a 1/2" drive breaker bar on the tensioner to relieve tension thus facilitating removal of the belt.
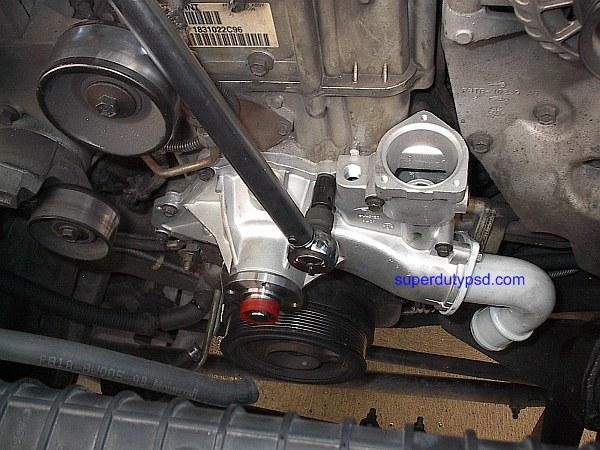
7) Use a suitable tool to hold the water pump pulley and remove the fan and fan clutch from the pulley. I rented this at Napa for free but the wrench was not big enough for the nut (83-113 lb-ft) so I used a pipe wrench.
8) Carefully position the fan and the fan clutch into the shroud. Be careful of the rear face of the radiator, it can be damaged easily.
9) Remove the 2 bolts (10mm) from the top of the fan shroud.
10) Remove the fan, fan clutch, and fan shroud at the same time. They will lift right out. The bottom of the shroud just has 2 tabs that will come right out. THE FAN CLUTCH LOOSENS TO THE LEFT FACING THE FAN.
11) If you are going to replace the upper radiator hose (you should they cost like $12) now is a good time to squeeze that clamp and pull the hose off. It will be easier with the pump and thermostat housing still affixed to the engine.
12) Remove the 3 thermostat outlet housing (Ford F81Z8592AA, Napa 605-1769) bolts (8mm 15 lb/ft) the housing will likely need replaced as they rust and can leak if reused. Remove the thermostat (Ford F6TZ8575AA, Napa 373-195). It just pulls right out. The gasket sits on top of the thermostat. The thermostat be can reused but I would strongly suggest that you replace it.
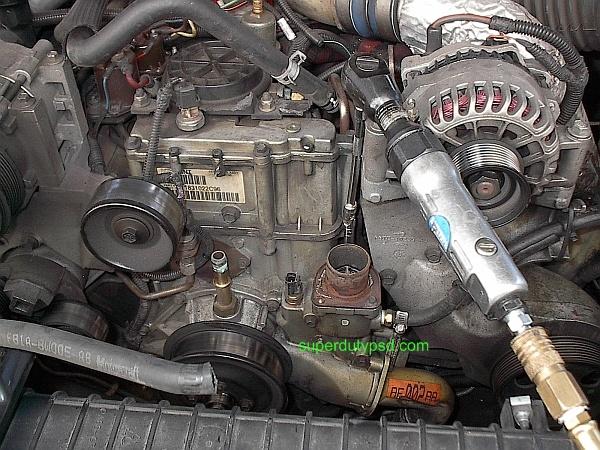
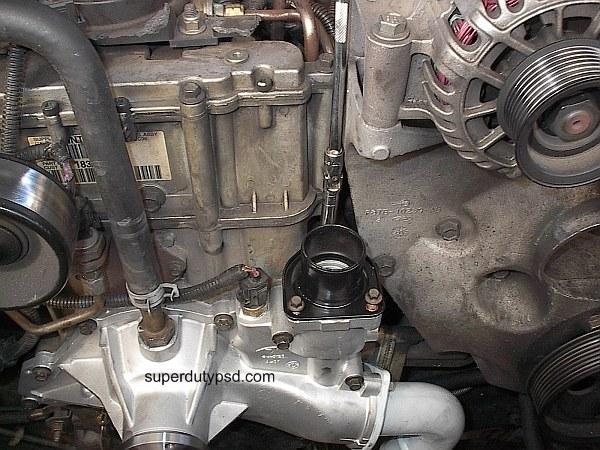
13) Remove the heater hose to the left of the thermostat housing and position it out of the way.
14) Remove the 2 bolts (18 lb-ft) from the outlet (lower radiator hose) of the water pump.
15) Disconnect the engine coolant temperature (ECT) sensor connector. It is the sensor to the left of the thermostat housing.
16) Disconnect the camshaft position sensor electrical harness from the water pump.
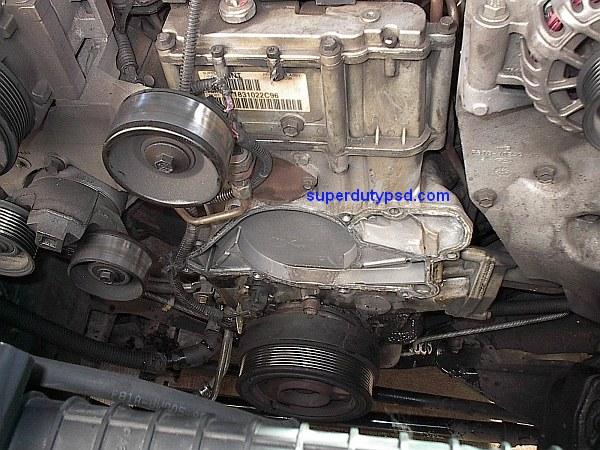
17) Remove the four bolts (18 lb-ft) and the water pump pulley.
18) Now remove the 9 bolts (10mm, 18 lb-ft) that attach the water pump. The bolts are of different lengths so care should be taken so that the can be put back in the proper place.
19) Remove the water pump.
20) Clean the mating surface of the engine in preparation of installing the new water pump. I used steel wool to clean the surface.
21) Prep the new water pump per the water pump manufacturer's instructions. I coated the o-ring type gasket lightly with rtv sealant to keep the o-ring from falling out of it's channel.
22) Reverse the above procedure and the top off the coolant as appropriate. In my case I just had to add 4 gallons of concentrate and top off with distilled water. Check for leaks and you are done.